
Video Capture Like a Pro
Use of video capture programs to make your video chat stand out
We will cover:
- OBS Studio and how to set up scenes and sources
- Overlays and a web based solution
- Virtual Camera to port the OBS Scene to ZOOM videos
- Extras
- Notes: only tested on Windows 10
1. OBS Studio
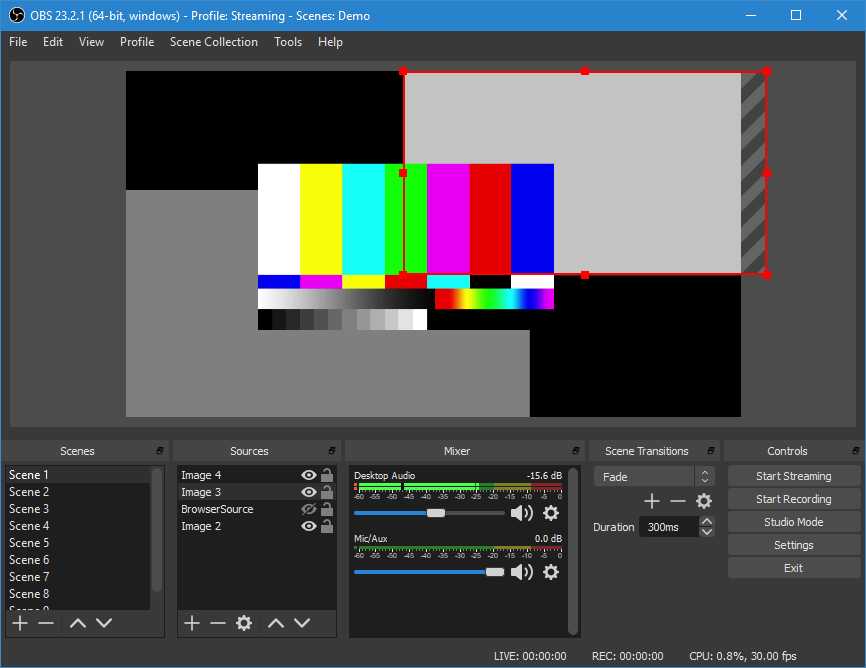
The first part of this tutorial is OBS Studio. There are a few different video capture and mixing programs out there, but OBS is the one I use. The overall look of it can be pretty overwhelming, but with a few simple clicks you can get it up and running.
This is how the OBS Studio looks when you open it
-
The big windows in the upper part of the screen is the scene view - this is what the view will look like to the audience.
-
You can have different scenes with different components in them, those different scenes are listed in the lower left list view titles with SCENES
-
The components in that scene are called SOURCES (the list box just to the right of scenes)
-
Audio mixer is just to the right, followed by scenes transitions and recording/streaming controls
For this tutorial we will focus on the Scenes and Sources as that is those or the main meat of video capture.
SOURCES
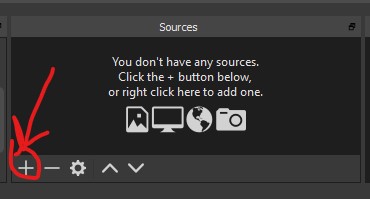
When you open OBS Studio you will see something that looks like this
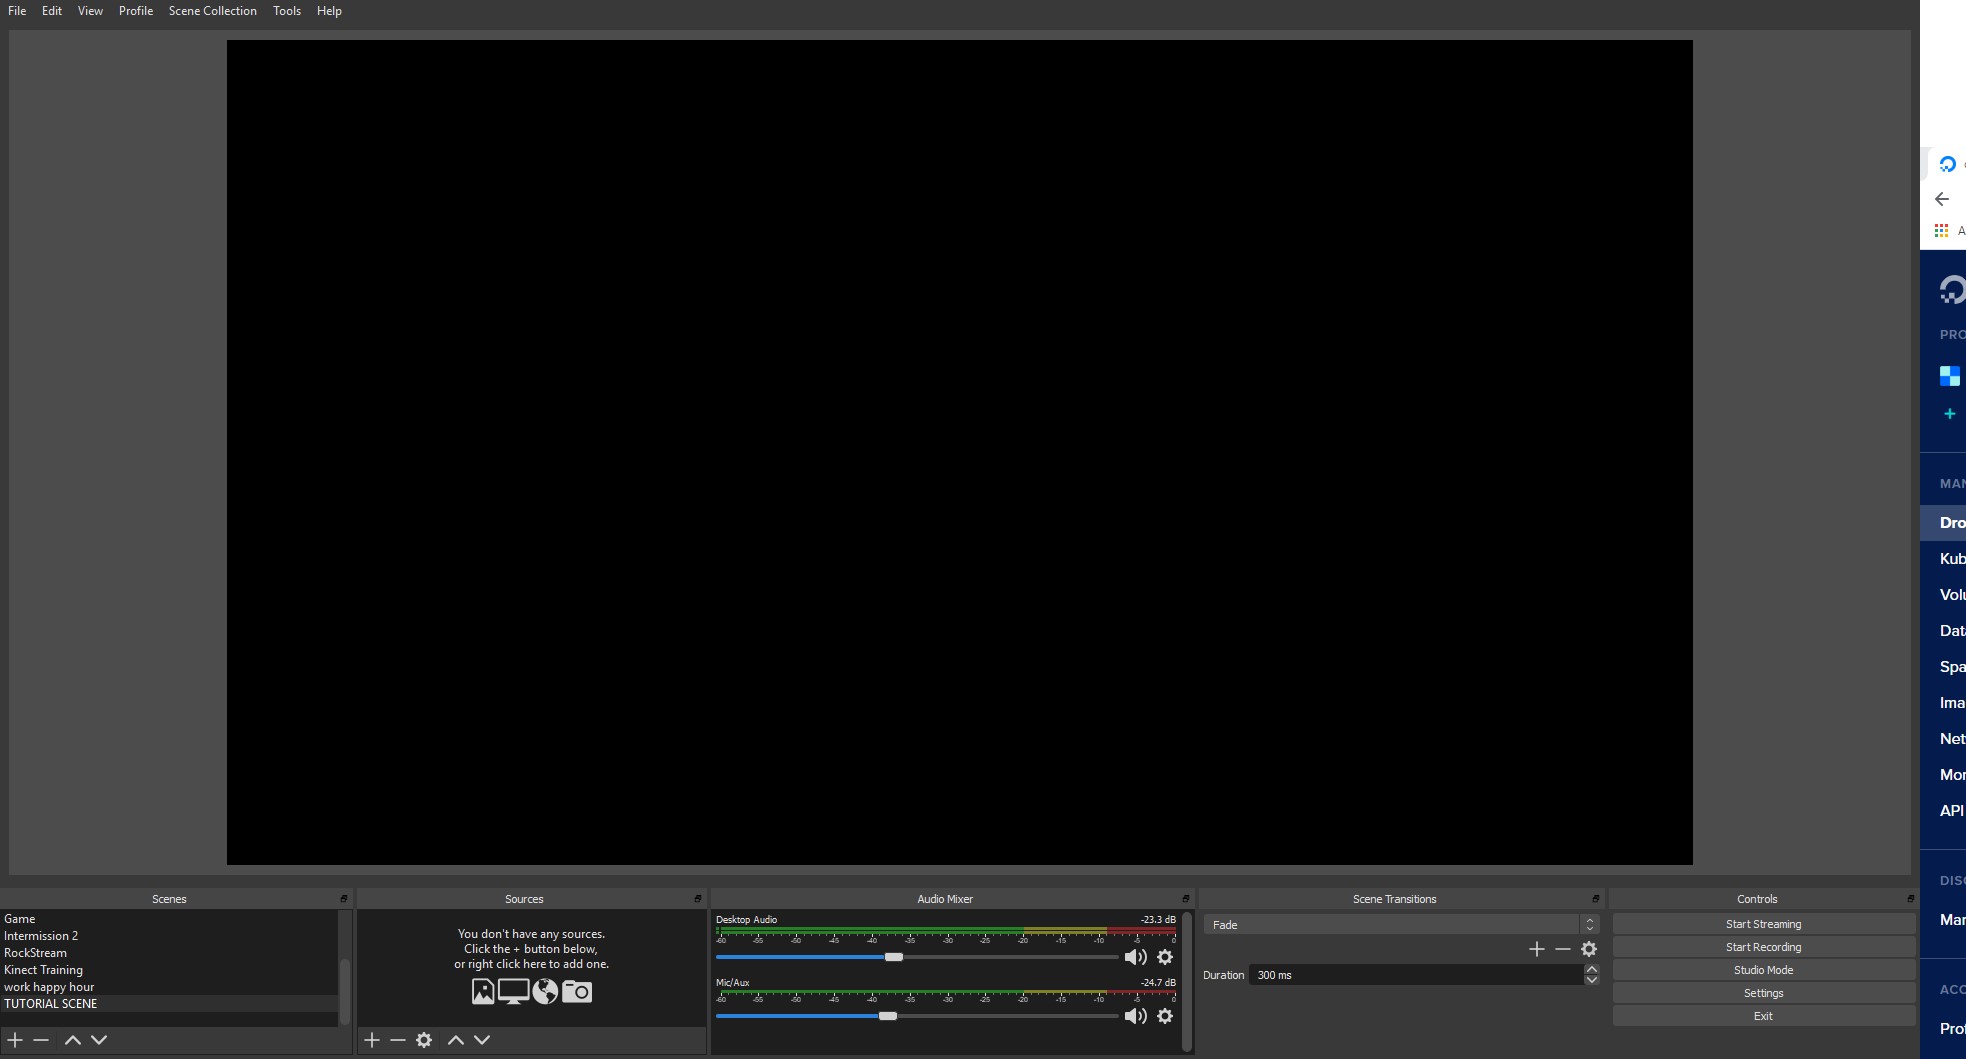
You will only have one scene (Called Scene 1) and should have a black screen in the scene view. In order to add a SOURCE - click the plus (+) button under the Sources view
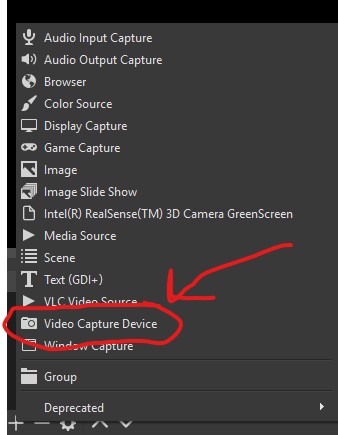
This will bring up all the different Sources or components you can add to the scene

We are going to first add a video capture device (this is your camera)
Create a new device, you can name it something else if you would like. When you click “OK” it will bring up the options for the video capture source
Mine looks like this:
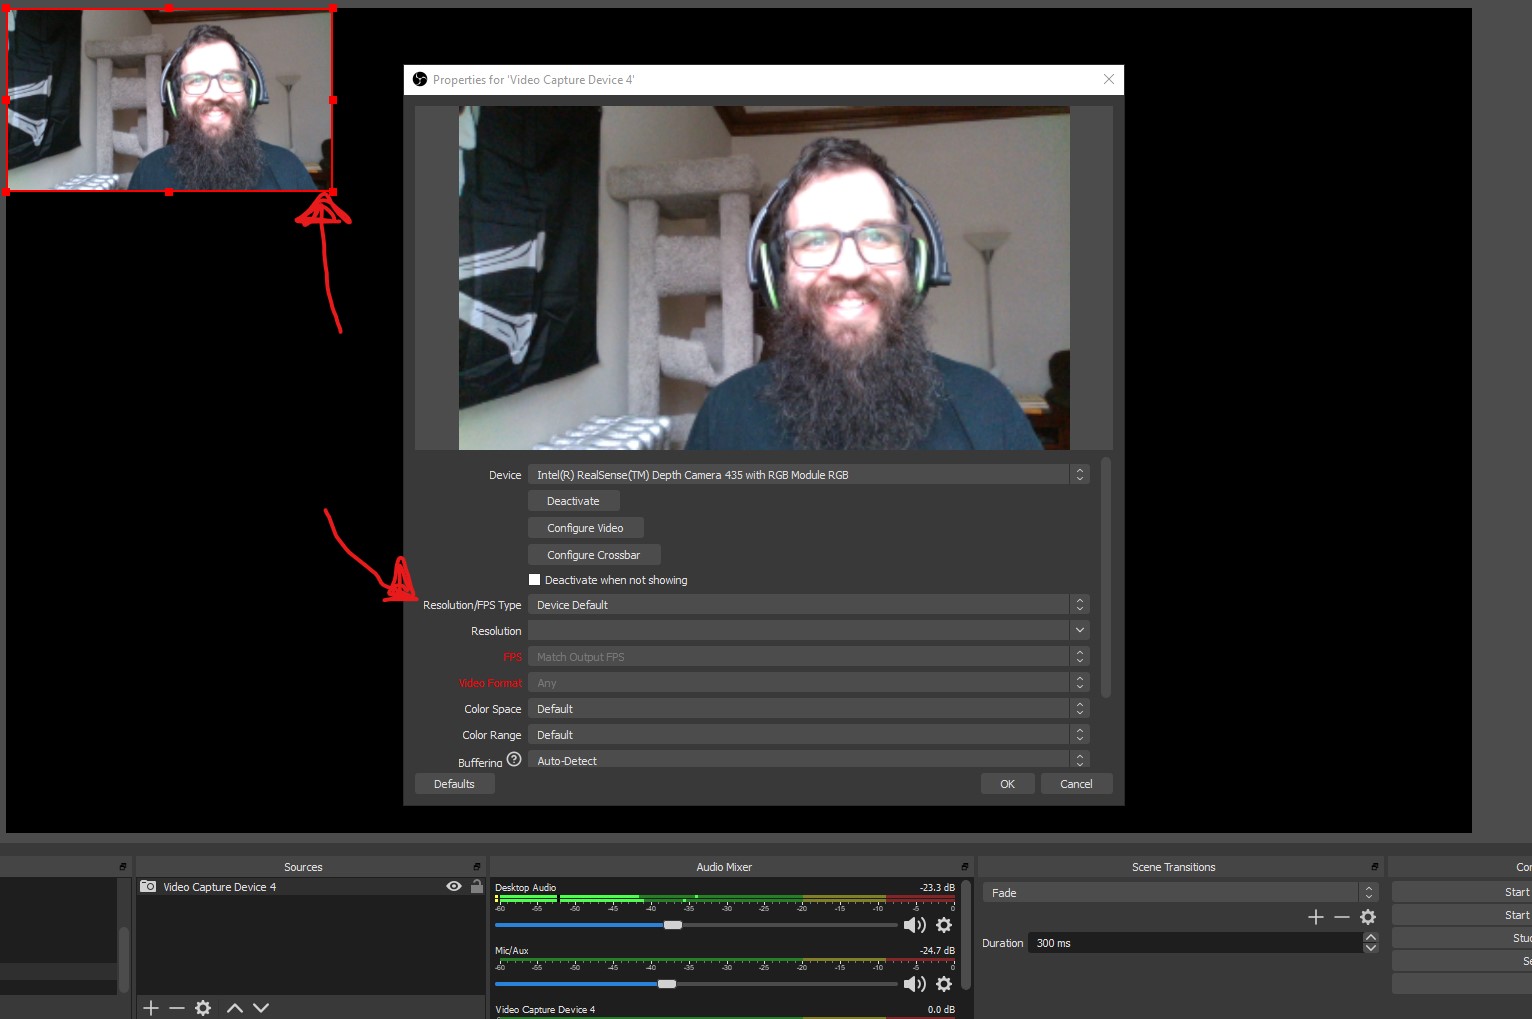
Getting your camera to look good will require some trouble shooting on your end. You can see my camera is now in a small box in the upper left of the screen.
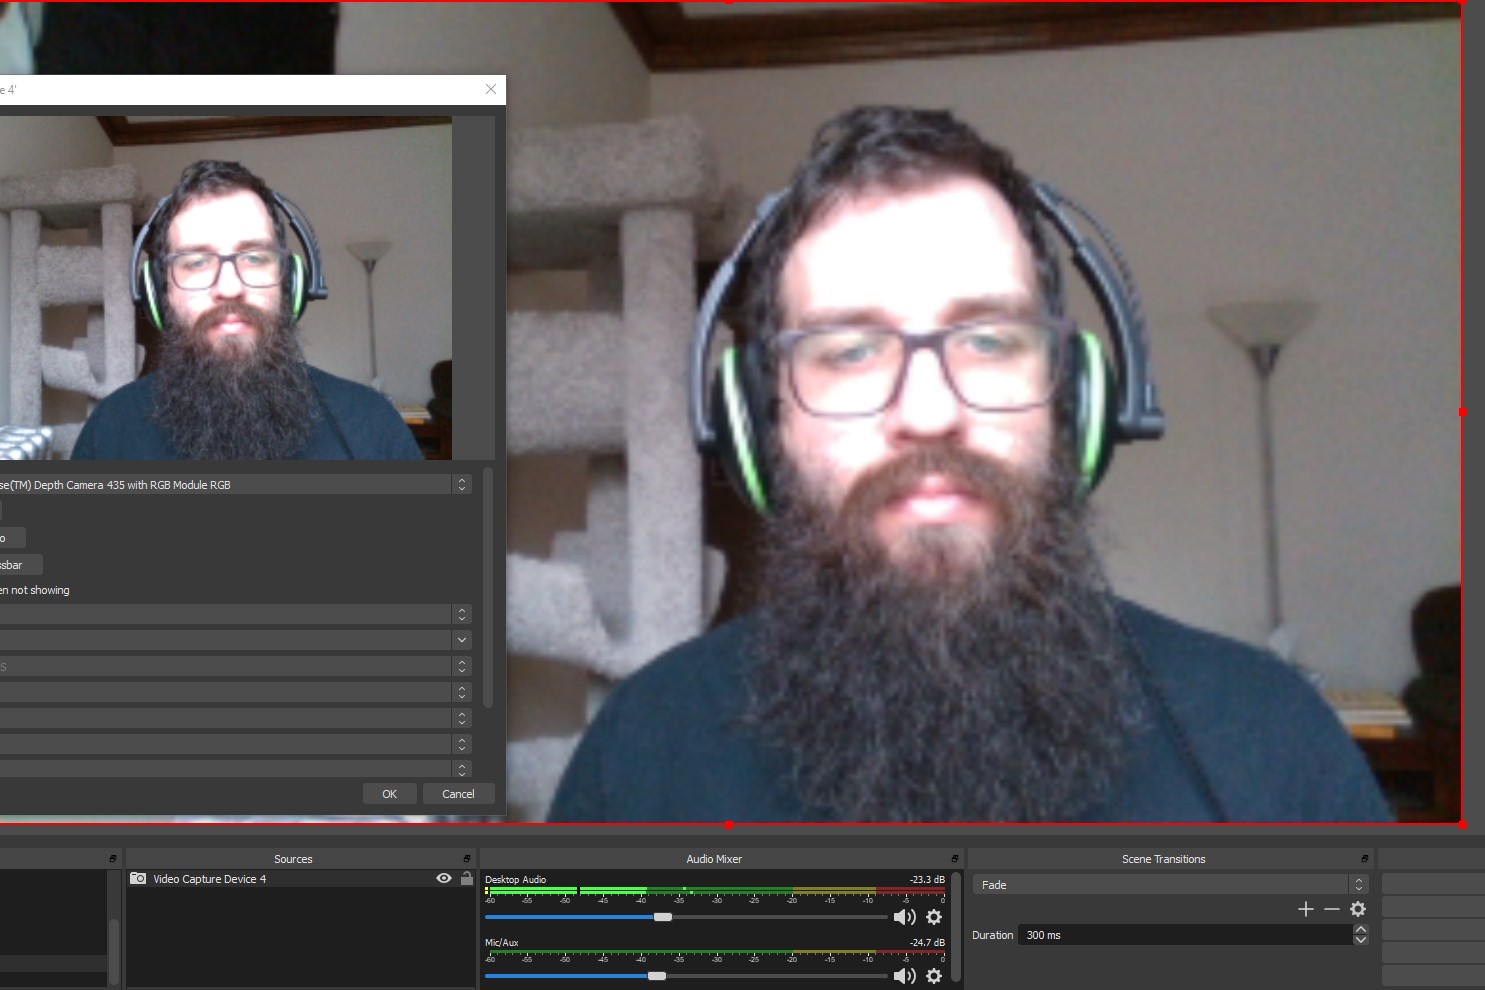
To fill the scene you could just drag the red outline of that box to fill the scene… *This does not change the resolution of the video capture… only the size of that capture in the scene so you may get a very grainy video.
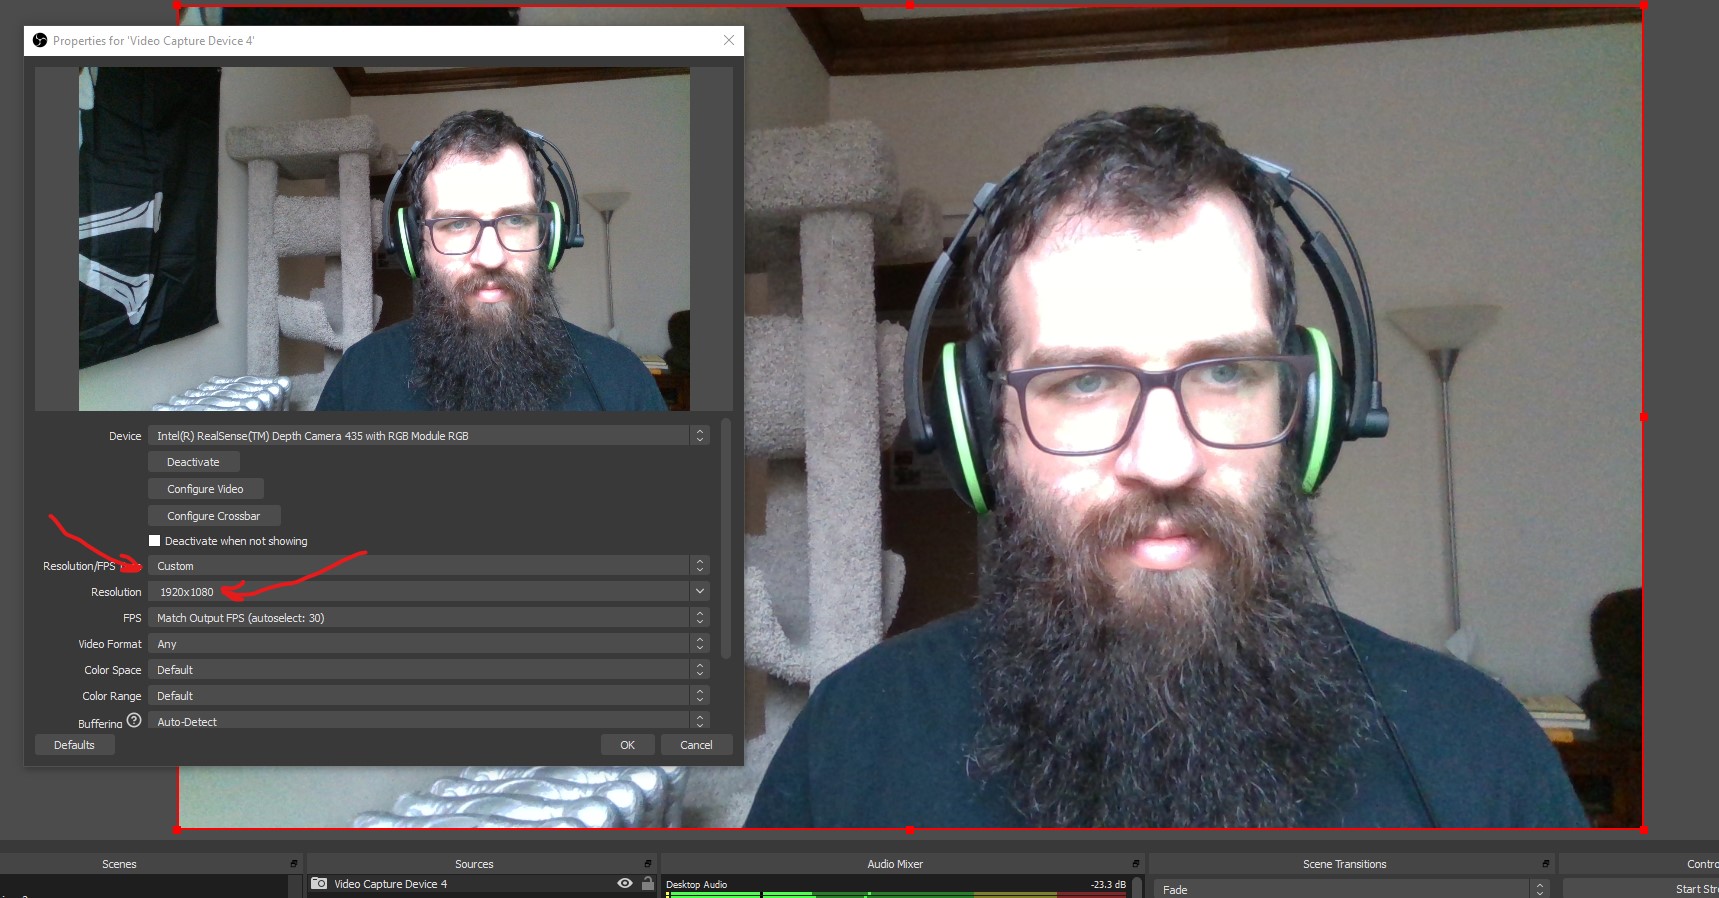
Instead in the settings (which can be brought up any time by double clicking the source) click on the resolution and play around with options until in fills your screen and looks good. This may require some fiddling and resizing the box on the scene
Now you have a video source, you can play around with different sources to see what is offered in the OBS base, next we will cover overlays
2. Overlays
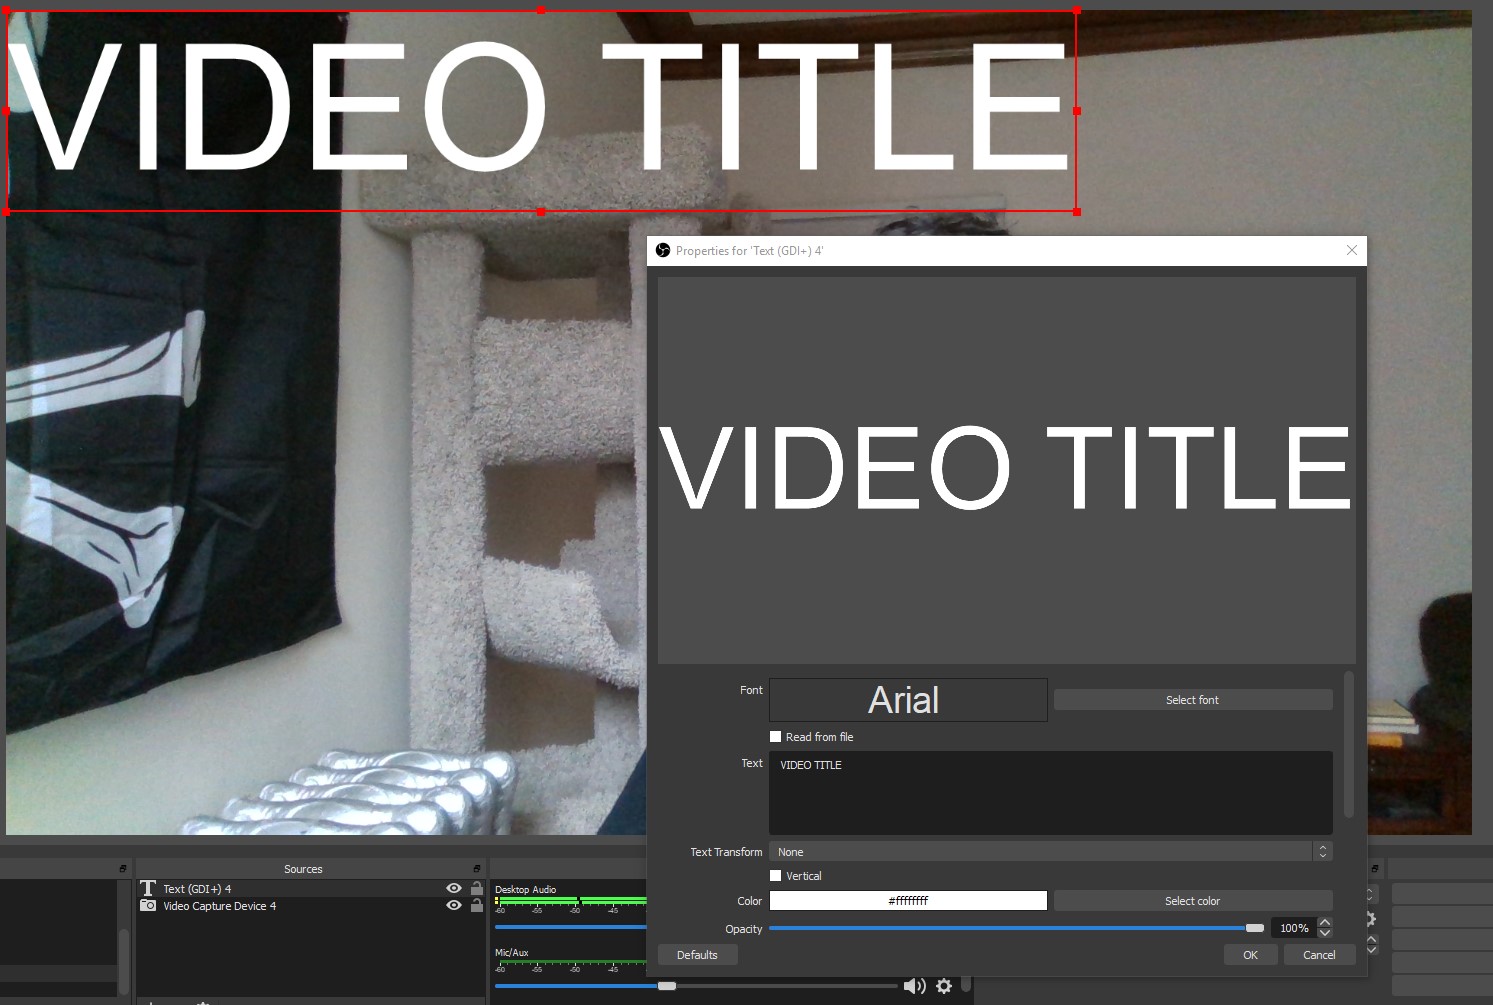
The simplest way to add an overlay (any information over the video capture view) is to add a text source in OBS.
Just like we added the Video Capture Source you can add a text source in the source add options.

Start typing and you can see the text show above the video.
NOTE: The sources in the source list are view layers, meaning that the one on top is in front of the one below it. So if the text layer is below the video source the text will be hidden behind.
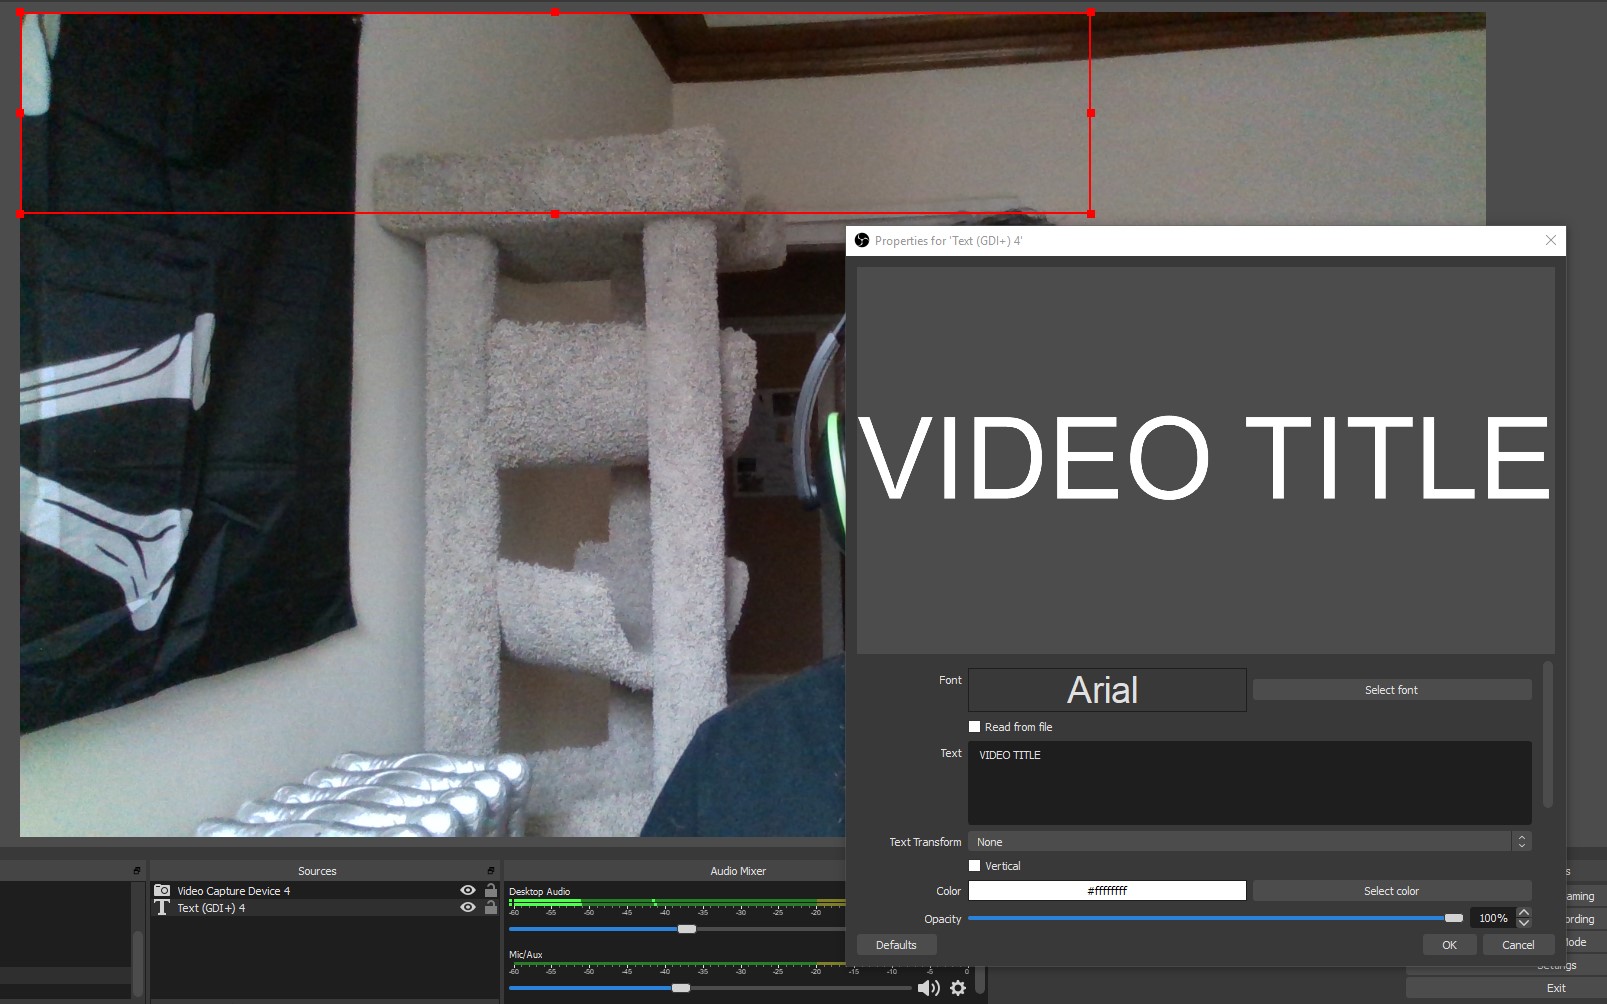
So anything you want over the video make sure the source is above the Video Capture device source.
Player.me overlays
To get more elaborate overlays there is an option to use a web based solution, this is a bit more advanced, but I will try to get you started.
If you head to player.me and make an account you can create custom overlays that you can add you your OBS Scene as a browser source (I will explain later)
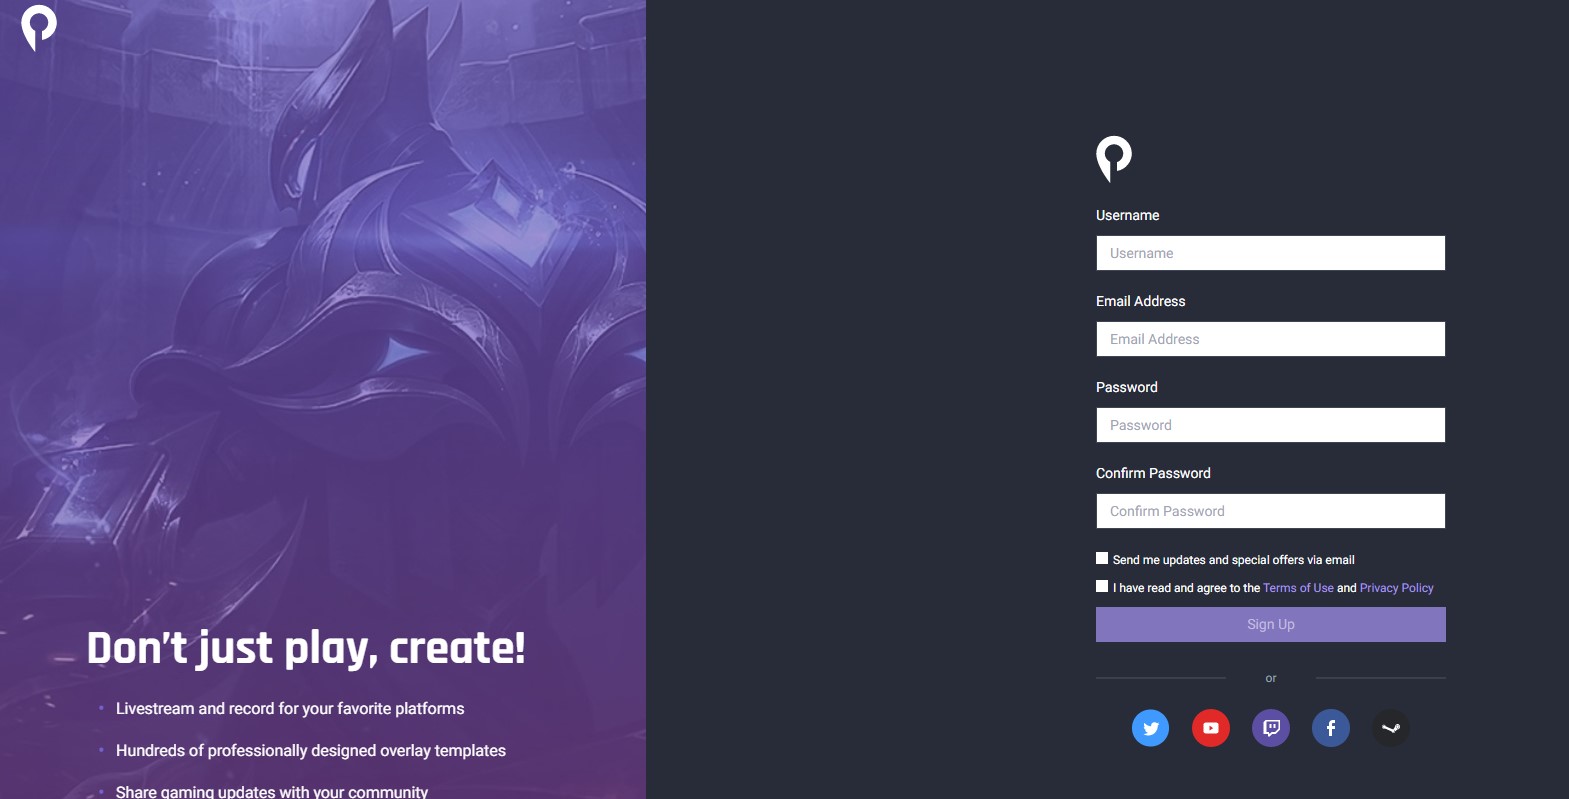
Once you sign on you can start making overlays, or grabbing pre-made ones. The overlay tab is in the left (player.me seems to change their UI often, so take images with a grain of salt)
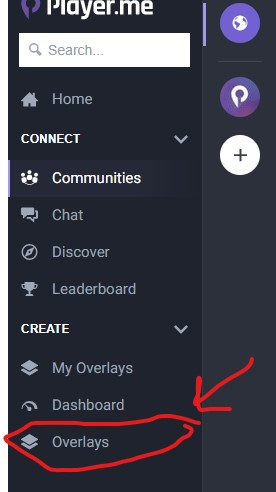
If click overlays you can browse pre-made overlays, these are mostly for streaming games, if you click My Overlays you can create a new one.

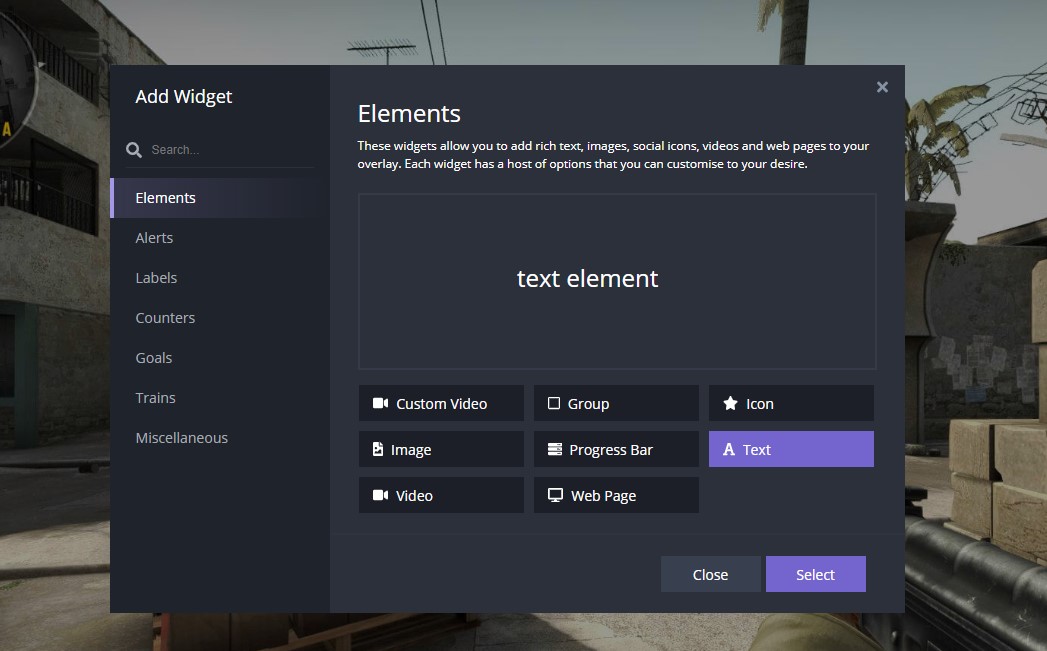
This gives a few options for streaming, if you just want some simple text and image overlays choose the custom overlay option.
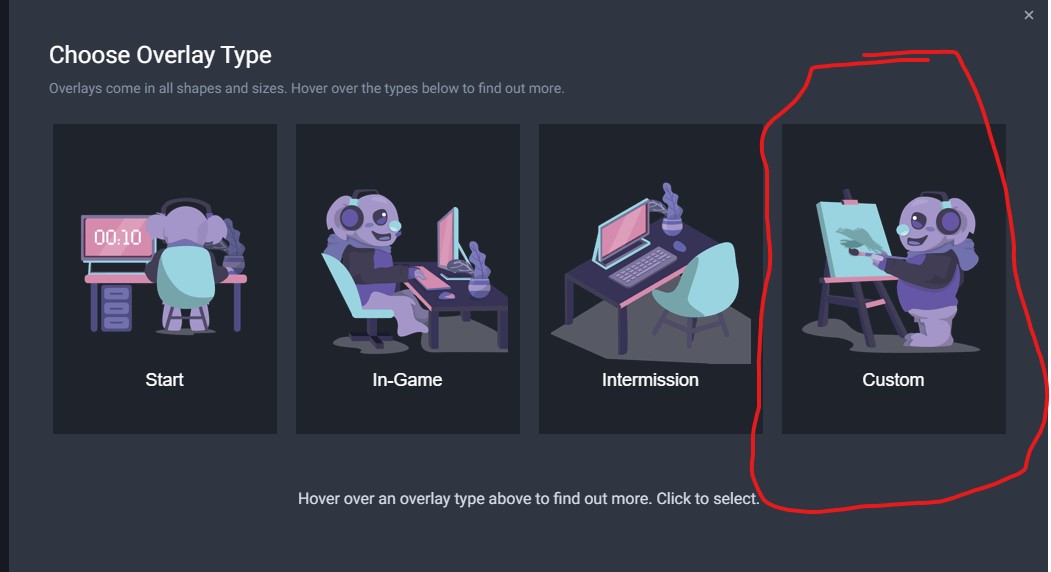
Now you should see an image of a video game (this is just a sample background for you to start adding the overlay over… this is mainly for streamers)
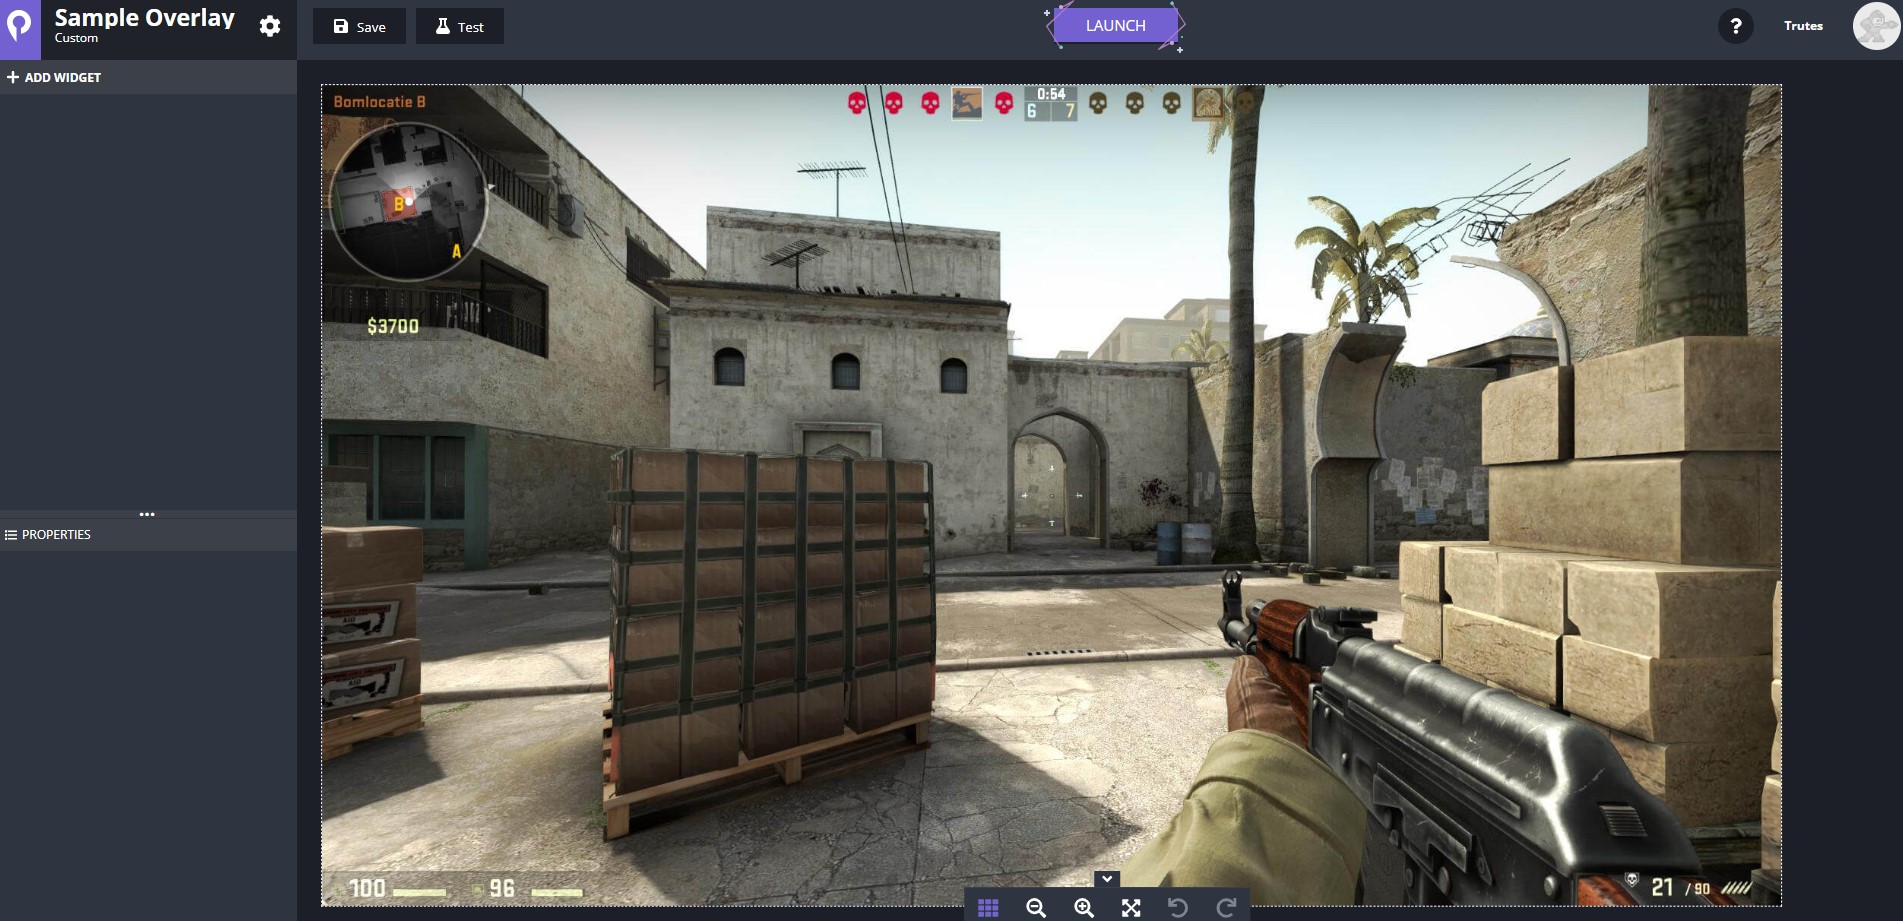
The overlays are called widgets and the best thing to do here is to play around with the adding images and pictures, you can look at some of the pre-made ones to get some ideas of what is possible.
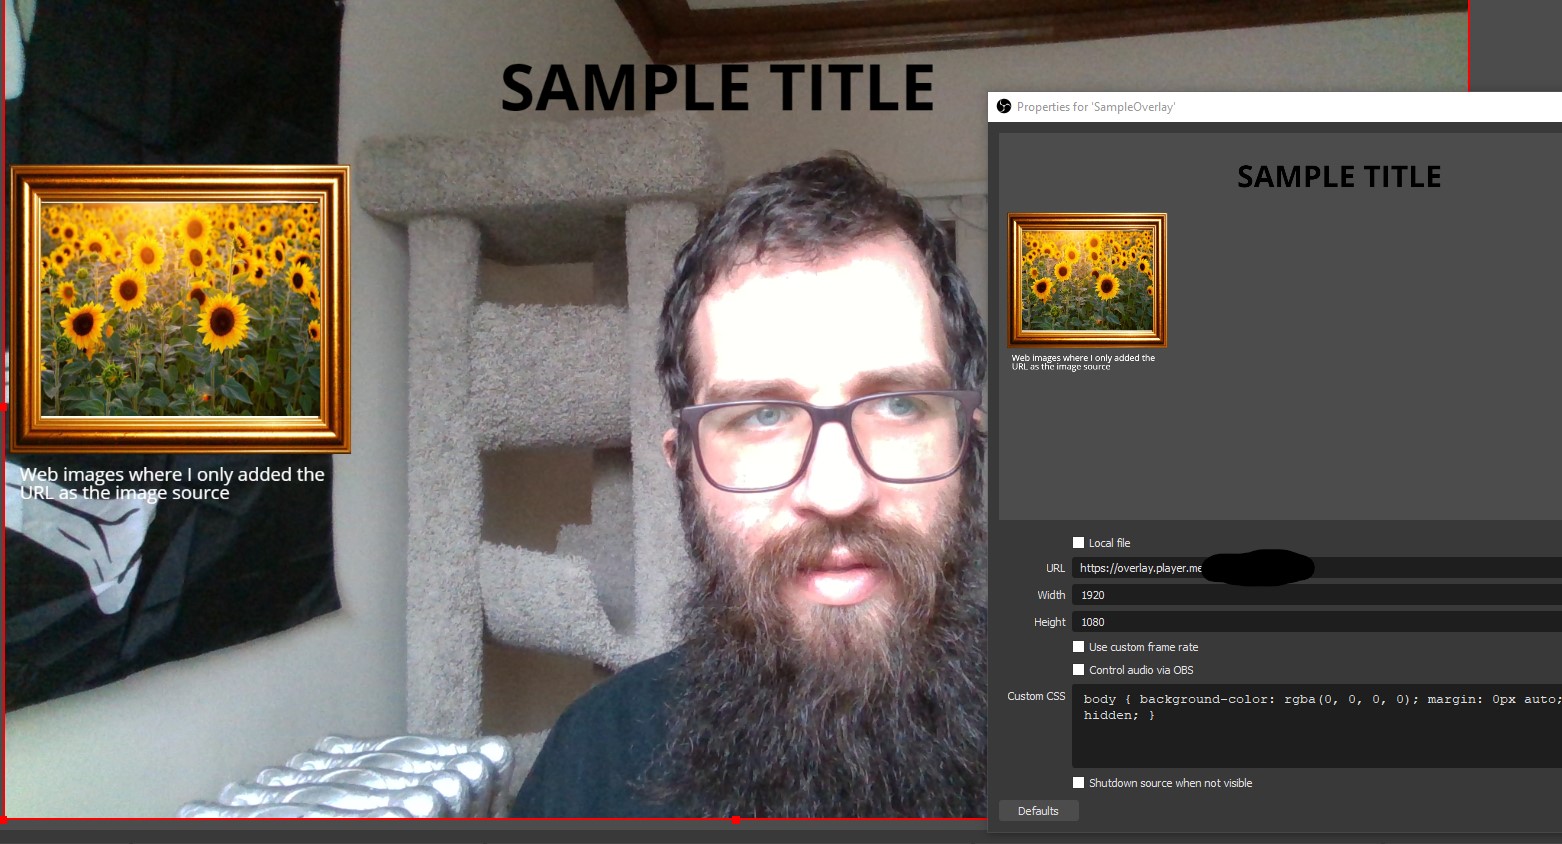
I made a sample overlay with just some text and images. When you are happy, you can click save then LAUNCH
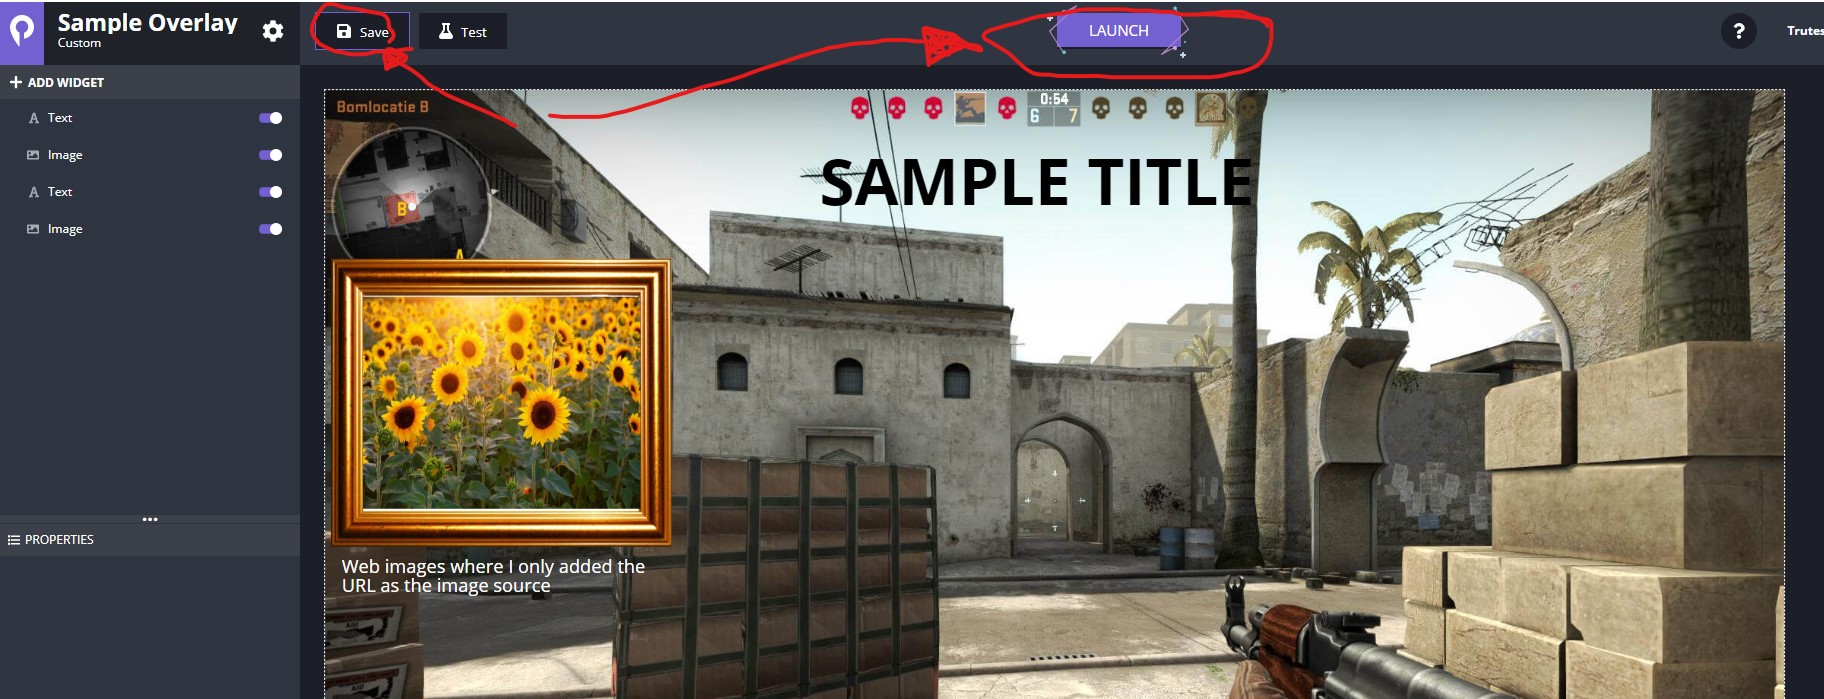
When you select LAUNCH select OBS Studio and player.me tells you how to use the overlay in OBS.
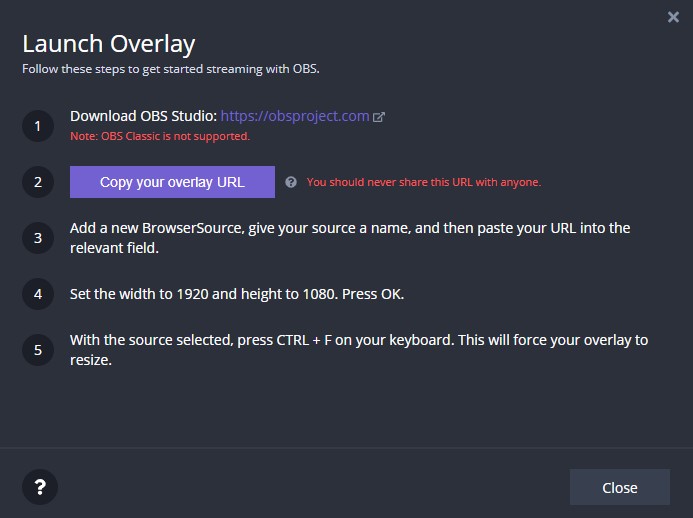
COPY THE URL AND WE WILL MOVE BACK TO OBS STUDIO
BACK AT OBS
Now we are going to add a new source, this time it is a browser source.

In the URL you will paste the copied URL from player.me overlay and set the resolution for what it told you when you selected launch.
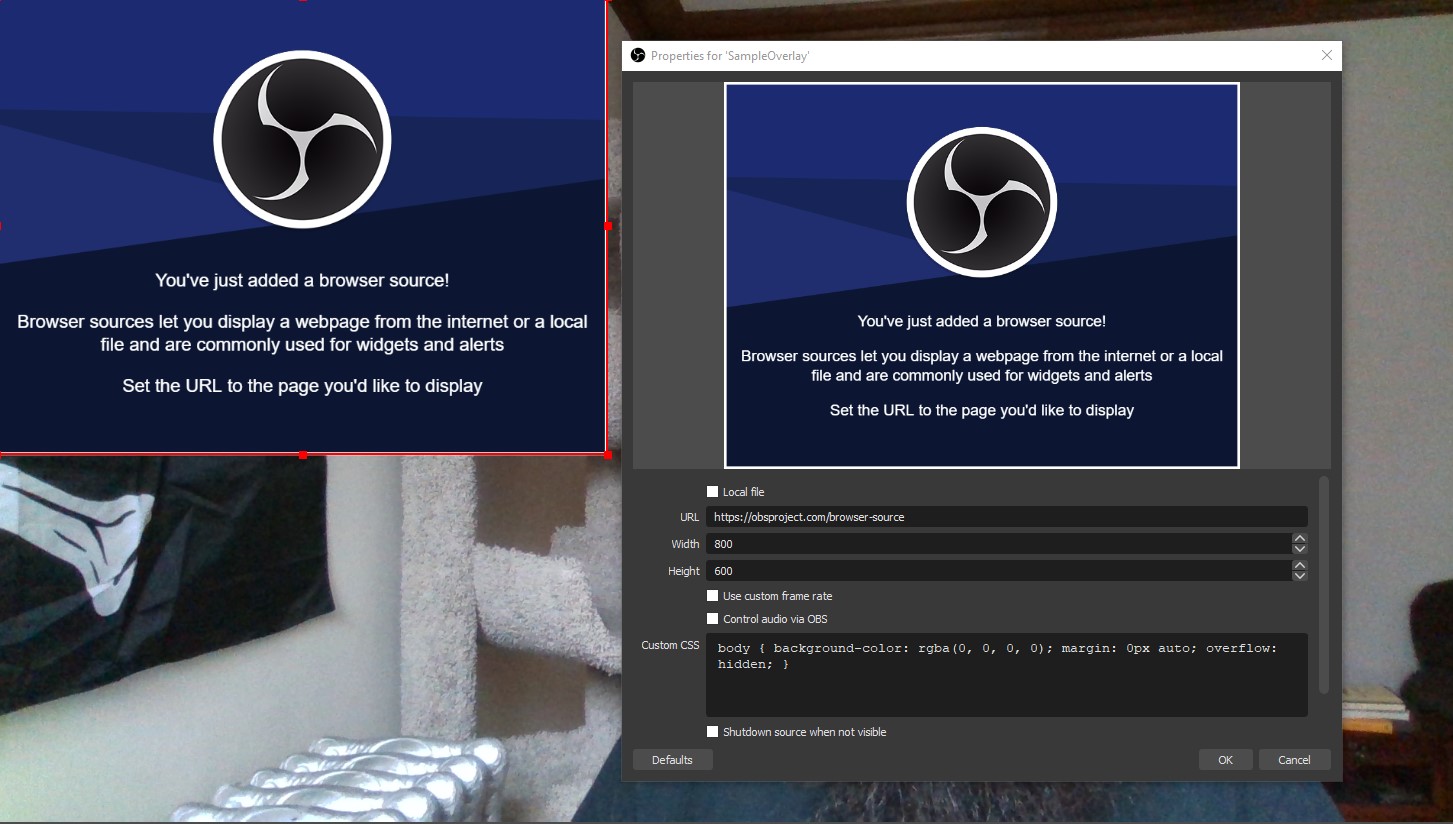
Click OK and now your overlay should be over the scene!
Now you have a video with overlays, but how the hell do you get that OBS scene into a Zoom meeting…
3. OBS Virtual Camera.
This part of the tutorial is a bit “hacky”… So OBS is open sourced. Meaning people can develope their own plugins for them. There are many plugins out there, we are going to focus on the virtual camera plugin.
You can view and download the most recent release of this plugin here
At that page download the file called something like : OBS-VirtualCam{version}-Installer.exe
Download and launch the installer (I choose the 4 virtual cam option). OBS Will need to be closed
Once it is successfully installed you should see a virtual camera option under the tools menu in the top bar in OBS Studio
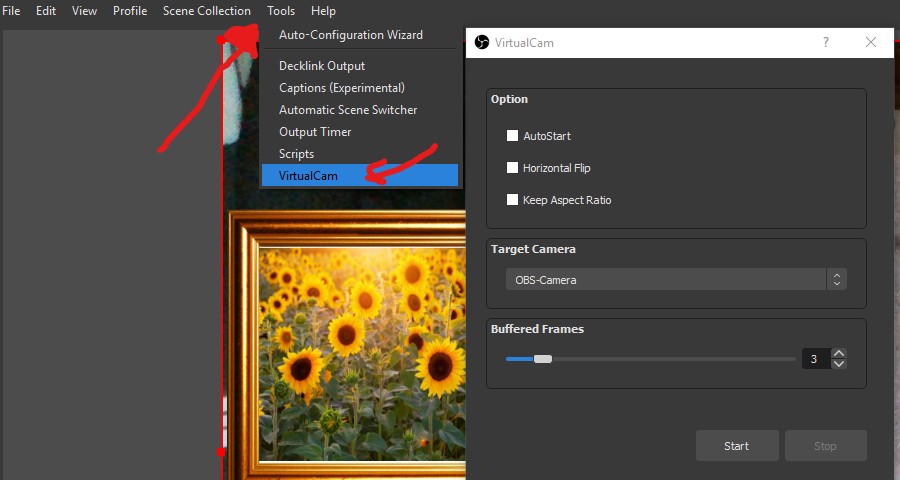
This create “Virtual Cameras” that sort of trick your PC into thinking that the video output from OBS is an actual camera attached to your system.
Zoom Time
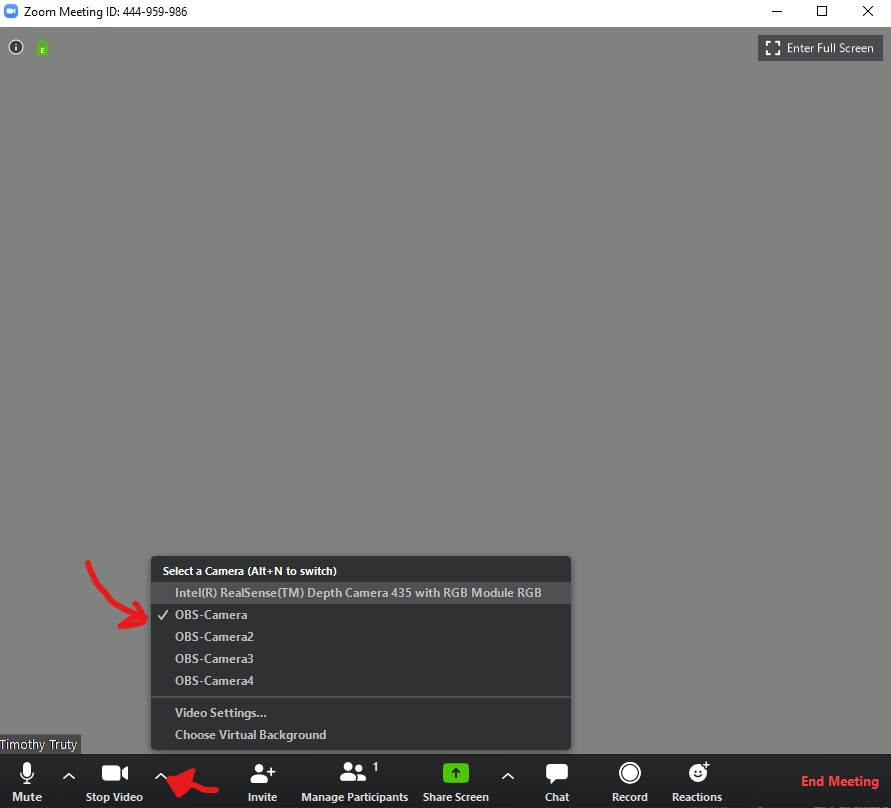
Now if you log into your Zoom meeting as usual and click the arrow by the camera you should see a few more cameras than usual. But you don’t see the video capture from OBS yet.
YOU NEED CLICK THE START BUTTON ON THE VIRTUAL CAMERA ON OBS STUDIO.
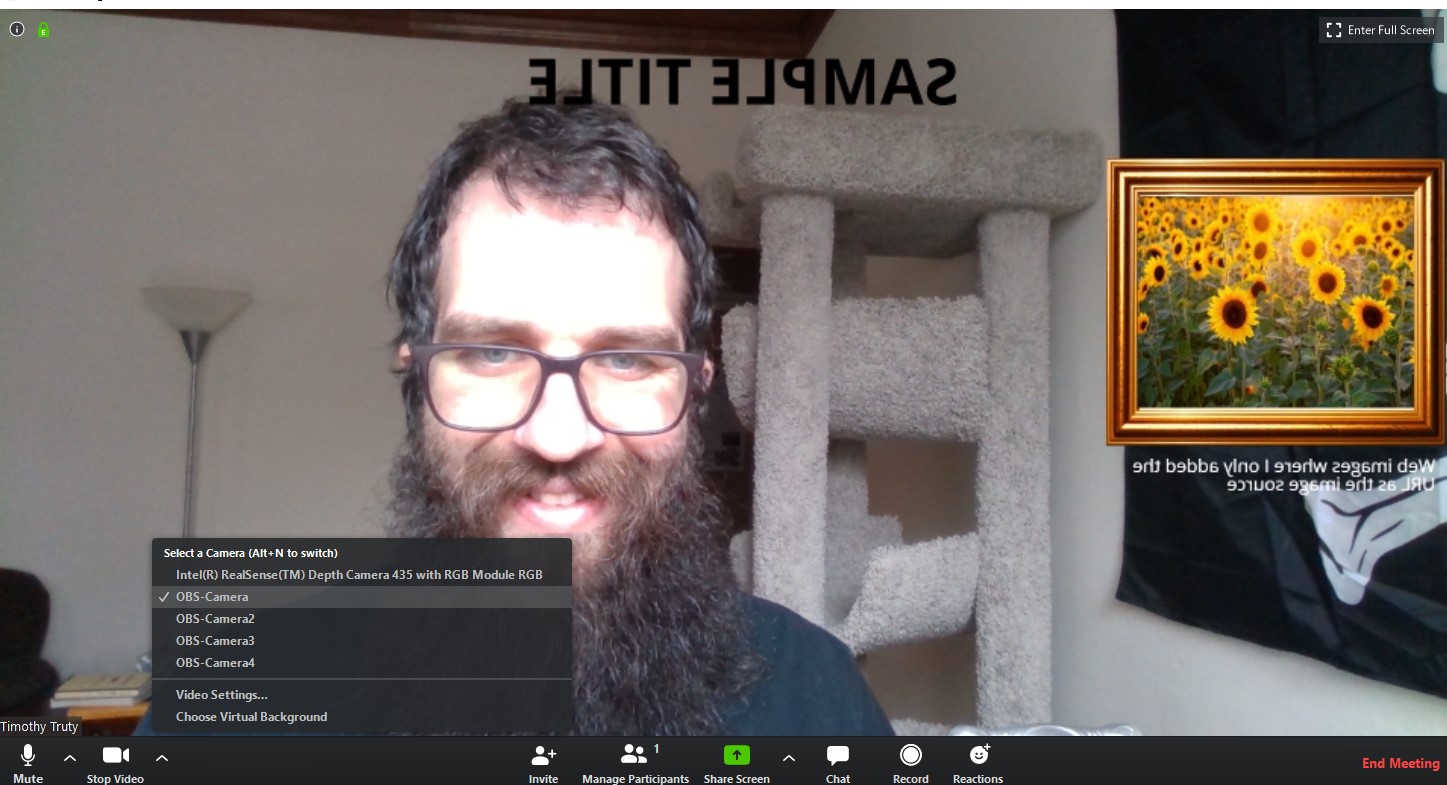 once you hit start the start button is greyed-out.
NOW you should see the OBS capture and full overlay in ZOOM!
4. Extras
OBS has some other cool tools:
I am going to post some here, but these are more advanced and I will make you do your own research once you have the basics down.
- Hot Keys for scene switching (in settings)
- Spotify overlays
- Quick counters
CONGRATS YOU DID IT
some troubleshooting notes:
- The overlay might look mirrored to you, this is a zoom setting, it should be fine the option is under video settings
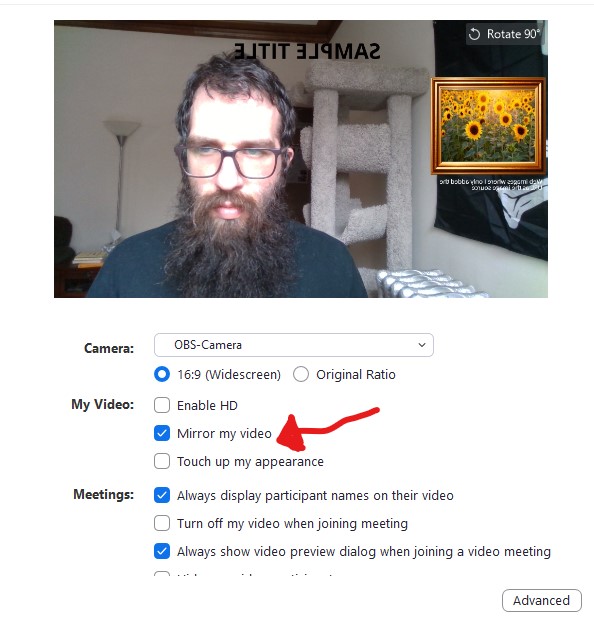
You may want to change, there is also a setting in the OBS Virtual Camera to flip video if it appears backwards to viewers.